Sunday, March 31, 2013

Happy Easter!

It is the end of an exhausting Easter day, and I had a GREAT time.  The kids are happy with their baskets - they both declared this the best Easter EVER.  I'd say it was a success!!

The only thing I was NOT successful at?  FOOD PICS!!  How can I have a food blog and forget to take pictures of our Easter feast??!!  Crazy!

We had SO much food.  And it was delicious.  I am SO looking forward to leftovers!!


The only thing I actually took pictures of was the heavenly homemade Jewish Egg Bread that I made in our bread machine.  

Do you have a bread machine?  If not, you should get one.  Now.

Go ahead, I'll wait....

While you're out, you can pick up a copy of The Bread Lover's Bread Machine Cookbook.  This is the best bread machine book I've found so far.  I got a copy of it from the library and ended up saving dozens of recipes, including the Jewish Egg Bread that I made for Easter.

The Cast:
Warm Water
Eggs
Oil
Flour
Salt
Sugar
Vital Wheat Gluten
Yeast


This is the easiest recipe ever.  All you need to do is throw all of the ingredients in the bread machine.  The order will depend on your machine - mine is liquid on the bottom, then the dry ingredients, with the yeast on top.


I know my quirky bread machine - this is a 1 lb. loaf, but I bake it on the 2 lb. loaf setting, dark crust.  I have found that this setting produces the best loaf of bread.  Yours may be different - so play with it!  Don't be afraid of loaves not turning out - it happens to the best of us!!

When I first start my machine, it takes a little bit of babysitting.  I usually need to help coax the flour in, and most of the time I need to add extra water.  I just keep the top open the first few minutes and watch it.  


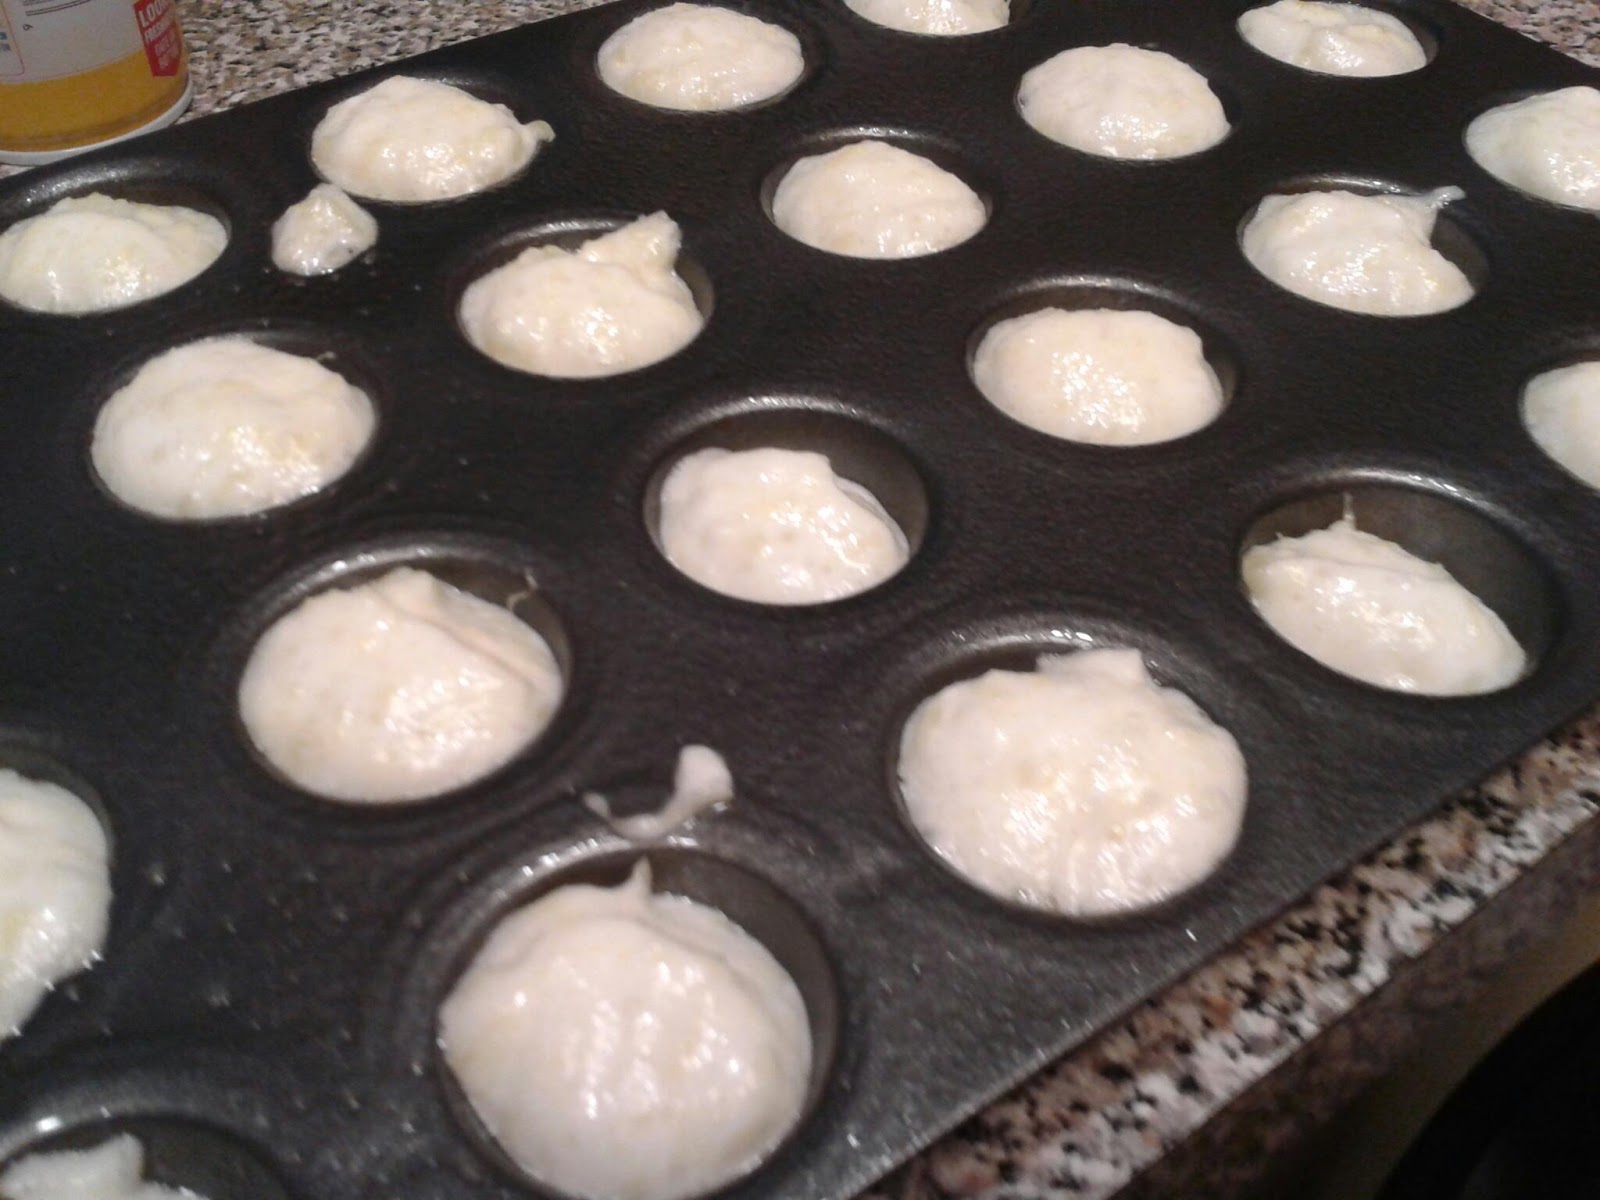
Once it gets going, I don't need to worry any more - I just leave it alone to do its thing!  Here are a couple of action shots...cuz I'm that easily amused.


Just let it go and a few hours later, out pops a beautiful, golden brown, crusty, tender, deliciously beautiful loaf of Jewish Egg Bread.


SO yummy.  Enjoy!

Friday, March 29, 2013

Wingin' It - Breakfast Style!

There are few things that strike as much fear in my husband's heart than when I say "I'm wingin' it!" when he asks me what I'm making.  I would love to say that his fears are totally unfounded, but...things don't always turn out.  It's just the way of the world.  But when they DO work out, they really work out well.  It's a wonderful thing!!

For breakfast today, I decided to wing it - and got mixed reviews.  I decided to make my own version of a breakfast casserole.  I knew I was doomed from the start, because my dear hubby HATES casseroles.  I am determined to change his mind about them - and I think I have presented some pretty compelling arguments for the humble one-dish meal - but to him, this particular attempt was not as successful as I would have liked.

The kids, on the other hand, DEVOURED theirs.  In fact, I missed getting a picture of my fresh-from-the-oven casserole because my two little vultures were circling, acting like they hadn't eaten for a year.

As for me?  Sorry hon, I love you with all my heart, but I have to side with the kids on this one - I thought it was yummy.

The Cast:
Bread (I used the rest of the loaf of herb bread I made the other day.)
Cheddar Cheese
Bacon
Eggs
Milk

Cube the bread up and put it in your baking dish.  Sprinkle with a few handfuls of cheddar cheese.


Cut the bacon into bite-sized pieces and brown over medium heat to render out the fat.


Try REALLY HARD not to chow down on the beautiful, brown bacon.  But go ahead and have a few bites - I won't tell anyone!


Sprinkle the bacon on top of the cheese.


Whip up some eggs (I think I used about 6) and milk (a few cups) until it's nice and frothy.  I also threw in some parsley because I like a little green in there.  Chives or green onions would be great too!


Pour over the bread and let it sit for a few minutes to soak in.  If you don't have enough egg mixture, don't worry - just whip up a little more and pour it over!


Throw it in a 350 degree oven for about 45 minutes to an hour.  Take it out when it is nice and bubbly brown and the egg is set.

Here is mine after the vultures were done.


Such a yummy, warm, tummy-pleasing breakfast - go ahead and have a big ole piece, then take a nap!!  :)

On an unrelated note...I just noticed that a bunch of my posts have DISAPPEARED!!  I'm so bummed!!  :(

Thursday, March 28, 2013

Cookies and Cookbooks

I LOVE cookbooks.  When I get a new cookbook, I read through it like a novel, cover to cover, immersing myself in the pictures and recipes and savoring the beauty inside. If anyone is looking for a present to give me, I accept all cookbooks.  Old, new, used...it doesn't matter.  I love them all!

 But when I am actually looking for a recipe for something, I head straight for the internet.  I have shelves stuffed with cookbooks that are never actually used for COOKING.

I am going to change that.

I am going to make a point to use my many cookbooks for their intended purpose - to actually cook out of them.  A crazy idea, I know...but I'm going to go with it!!

Today's book is A Passion for Baking: Bake to Celebrate, Bake to Nourish, Bake for Fun, by Marcy Goldman.  I have had this book for about 5 years (yes, Amazon is nice enough to tell me that I purchased it in 2007!), and the only thing I have ever made out of it is a pie crust.  I wanted to make chocolate chip cookies because we have a bunch of hot pink & black M&M's from a wedding we went to last weekend.  I saw this recipe and thought that the M&M's would work great.  So today, I am going for Tender, Buttery Chocolate Chunk Cookies.

I'll say that again, just to let it sink in.

Tender, Buttery Chocolate Chunk Cookies.

What in the world is better than THAT??!!

The Cast:
Butter
Brown Sugar
Sugar
Eggs
Flour
Baking Soda
Salt
Chocolate Chips (or hot pink & black M&M's if you're fancy like me!)

This recipe starts out like any other chocolate chip cookie recipe - cream the butter and sugars...

(Action shot!)

Mix in the vanilla and eggs...and make sure you keep scraping your bowl with your cute little piggy scraper.


Then add the flour, baking soda, and salt and mix.


Mix in the fancy M&M's.


Isn't it cute??!!  I love the little pink and black polka dots!!

As any of you with kids (or siblings!) knows, two kids together - especially kids that are really close in age - will fight over ANYTHING.  As my husband says, you could be eating a poop sandwich and they would argue over who gets the first bite.  This is why I LOVE my Pampered Chef Medium Scoop.  It ensures perfect sized cookies every time!  :)


Here are the cookies, all scooped out and ready to go into the oven.


Here they are - golden brown and delicious!  I can't wait until they cool off enough to try!!


Bonus Picture!

I also made a cheesecake tonight.  This one didn't end up on the floor - big improvement over the last ones!


I hope you all have a wonderful Easter!  We are going to have a big feast - and you know I will post about it!!  ;)


Sunday, March 24, 2013

Comfort Food Sunday!

Sunday evening...cold, lazy day...perfect for a big meal out of the crock pot!  It took me a long time to be able to make a really great pot roast, but I have it down now.  The smell of it bubbling away in the crock pot all day is enough to drive you crazy, and it is so simple and delicious!

The Cast:
A big ole slab of meat
A couple of onions
2 or 3 cloves of garlic
1/2 cup wine
3 or 4 carrots


First, you want to generously salt and pepper your big ole slab of meat.  Then, put in a pan with a little bit of oil and get it nice and brown over medium-high heat.  You want it to be really good and brown - that adds such good flavor!


While the meat is browning, chop up your onions.  I usually use 2 medium-size onions, and cut them into 8th.  Also peel a few cloves of garlic, but keep them whole.


Scatter the onion and garlic in the bottom of the crock pot, and pour in 1/2 cup of wine.  (It doesn't seem like much liquid, but trust me...the meat and veggies will give off a TON, and it will end up being moist and delicous!  I promise!!)


After the meat has browned, set it on top of the onion in the crock pot, slap the lid on, and turn that baby on high.


Peel your carrots and cut them into nice chunky, bite-sized pieces.  Set these aside - we don't want to put them in yet, or else they will turn into carrot mush.  (Your Pampered Chef Mini Batter Bowl is perfect for the job!  lol)


After about 3 hours on high, grab yourself a towel and sop up some of the drool caused by the lovely scent emanating from your kitchen, and check on your pot roast.  At this point, mine was ready for the carrots, so I threw them in and turned the crock pot down to low.


Let it go on low for about 3 more hours...if you can hold out that long!!


This pot roast is perfect served with fresh loaf of homemade herb bread.  Cuz EVERYTHING is perfect served with a fresh loaf of homemade herb bread!


It's also good with mashed potatoes.  Or bread AND mashed potatoes.  I very rarely double-starch a dinner, but this one is perfect for it.


Here's a quick tip from my kitchen!


Those onion and carrot ends and peels?  Don't throw them away!

I have two big bags I keep in my freezer - one with chicken scraps and bones, and one with veggie scraps.

Every few weeks or so, I use these scraps to make a huge batch of chicken stock, which I freeze in 1 cup portions - MUCH better than pre-made stock or packaged bouillon, and when you do it this way, it's costs nothing to make!

All you need to do is throw both bags in a big pot, add some spices if you'd like (I usually throw in a bay leaf and a handful of whole peppercorns), cover it with water by a couple of inches, and put it on a low burner.  The longer you cook it, the better - I usually do it on laundry day, when I know I'll be home all day and can let it go for a few hours!  When it's done, just strain and portion it, and it is ready to go!

Friday, March 22, 2013

Pampered Chef Party Day!


Whaaaat??!!  Two blog posts in one day?!?!

I don't expect this to happen too often.  lol

I had a GREAT time at tonight's Pampered Chef party.  With 10+ guests, it is the biggest party I have done so far.  I was pretty nervous!  Will I ever get over that??

We decided to do an all-dessert party tonight.  It was a TON of fun!  There was so much food...enough to sustain a pretty lengthy food coma!!

(I don't know why my pictures turned out so icky...the lighting was funky!)

Before the party, we made a pineapple angel food cakey thing that I found on Pinterest.  (Yeah, that's the actual name for it...lmao)  It was super easy - a box of angel food cake mix and a can of crushed pineapple. Mix together and bake.  Easy peasy, and it was delicious!!  I was amazed at the magic that happened when the pineapple and cake mix were stirred together...it frothed up like crazy, enough to fill up my entire batter bowl!


We baked some in the Mini Muffin Pan, then poured the rest into the 10" Saute Pan and baked it.


Some dummy forgot to take a picture of them after they were baked.  I would have fired her on the spot, but I've grown rather fond of her, so I will let her stay around.

We also made Mini Apple Streusel Pies in the Mini Pie Pans.  They were so cute, and very yummy!  In the background, you can see the fruit salsa and cinnamon chips we also made.  (Oh!  Also the previously-mentioned unphotographed angel food cake thingy in the back left!)


During the party, we made Pineapple Upside-Down Cakes in the Brownie Pan.  These are always such a hit!


Finally, we made a Chocolate Lava Cake.  I am not a fan of microwave cooking, but this cake actually bakes in the microwave, and it is delicious!  It is not for the faint of heart though - non chocolate lovers need not apply!!


My host for tonight had a great party - so far, she has earned $90 in free products, 2 half-priced products, AND 25% off of anything else she buys - and she hasn't even finished getting orders yet!  I love how generous The Pampered Chef is to hosts and consultants!  :)

I am exhausted...time to go lapse into a coma! 

Food Prep Friday!


It's Friday!

Like everyone else in the world, Friday is me favorite day of the week.   But unlike everyone else, this is not just because Friday starts a blissful, relaxing weekend.   In fact, Friday for me is the busiest, most exhausting day of the week.   Friday means my food prep class!

Today's class was on meat...specifically, lamb and beef. 

On the lunch menu today was an Amuse Bouche of porcini deviled egg, sofrito surprise, and frizzled shallot.


We then served an appetizer of fried green tomato with goat cheese and bacon jam.


My friend Casey and I were in charge of salad.   We chose a mix of spring greens with spinach, candied pine nuts, dried fruit and a sherry vinaigrette, topped with a beautiful lamb chop and some chimichurri sauce.


For the entree, we served marinated flank steak, fresh asparagus, and roasted fingerlings with a veal-tomato glace.  I didn't get a picture of the plated entree, but here are all of the components!


For dessert, there was a dessert buffet with a Buche Noel (what else would you eat in March??), orange chiffon cake, hazelnut crunch bars, and jelly roll.


Everything was delicious, and once again, the kitchen was a ton of fun.  I love this class!  (It doesn't hurt that I brought home a TON of cake...the kids are going to love that!!

Lessons learned today:
1.  Cutting yourself while doing dishes hurts.

Lessons the dingbats in my class need to learn:
1.  Don't put knives in the sink and leave them there.  Especially chef's knives.  Especially point-up.  The person doing dishes does not know it is there, and WILL reach in and cut themselves.

Great day today, and it's not even over.  I have a Pampered Chef party at my wonderful sister in law's house.  We are doing all desserts...I can't wait!! :)

Tuesday, March 19, 2013

A special treat for my love!

Tonight, I made a special treat for my wonderful husband.  His favorite dessert - cheesecake!  I even made it with a nut crust and Splenda instead of sugar for my diabetic sweetie.  It turned out pretty well!!

I have had these cute little heart-shaped springform pans forever, and haven't used them.  Are they not the cutest little things ever??


And now...on to the cheesecake!!

The Cast:
Almonds
Splenda
Melted Butter
Cream Cheese
Eggs
Vanilla

First, I took the almonds and Splenda for a little spin in the food processor to grind them up.  Then, I added some melted butter and mixed them together.


I put some of the nut mixture in each pan and pressed it down using my Pampered Chef Mini Tart Shaper, then threw them in the oven while I made the cheescakey filling.


Cream cheese, sugar, eggs, and vanilla went into the food processor and took a quick little whirl.


I divided the filling up between the 3 little pans and smoothed them out a little.  So pretty!


Here they are after 30 minutes in the oven.  A little bit cracked...because my cheesecake ALWAYS cracks. I am just too lazy to do a water bath, but maybe one of these days...  Until then, we just don't pay those cracks any attention!!!


Before I tell you how they tasted, please observe a moment of silence for one fallen soldier who perished at the hands of the clumsy cook...

Oops.

And now...the verdict...


Once I could tear my honey away from his cheesecake long enough to let me know how it was, he proclaimed it to be...

"Guilt-free and delicious!!"

Now...what ELSE can I make in those cute little pans??